Sunday, September 19, 2021

Steampunk Guitar

My second project for September for Faith Pocock Craft Studio  is a sweet little guitar.


I assembled and painted the guitar and then glued lace around the sides.   I glued lace on the top of the guitar and on the frets.

Once I had glued down the lace I then began assembling the cogs, gears and moulds, 


I filled in the gaps with metal embellishments and art stones.  Once I was happy with the arrangement I painted everything the same colour as the base of the guitar.  

Once this paint was dry I them coloured the embellishments and then I dry brushed everything with white gesso to finish.

I hope this project encourages you to get a kit from Faith Pocock Craft Studio and make your own piece of art,


Friday, September 10, 2021

Pen Holders

 My newest project for Faith Pocock Craft Studio is a very simple one.  I took some of her small boxes and made some pen holders.  For the bigger version I glued three of the boxes together.


To cover the large box I cut squares, rectangles and strips of cardboard from a cereal box.  For the rivets glued on split peas along the seams of where the pieces of cardboard overlapped.  For the single box I glued pipe diecuts on all sides. I then used some of Faith's MDF cogs and glued them to the front of the boxes.  Once this was done I painted everything with black gesso and then I drybrushed everything with metallic paint.  

This is a very simple project and the boxes can be decorated using moulds or other items to make a decorative place to store pens and other office essentials,


Sunday, August 29, 2021

Under the Sea Box

 This month I have used one of Faith's kits to make an Under the Sea Chest.  I used molds to decorate the chest, and various paints and waxes.


Here is the basic kit before decorating.


Sides before painting.


Friday, August 6, 2021

Steampunk Storage

 This project is a combination of two kits from Faith Pocock Craft Studio.  The base is one of Faith's book boxes containing a drawer and the other is a small set of shelves. 


These are the two bare units before I began to decorate them.


I painted the pieces with ivory chalkpaint. On the shelves I stencilled a design using grey chalkpaint. I then used a wash of burnt umber paint over the top.  I edged the pieces with black chalkpaint and then sealed everything with a topcoat of varnish. On the sides of the shelves i used modelling paste through the same stencil I had used on the inside shelves.  For the base I glued on four cotton reels for feet (everything looks cuter with feet) and painted the inside of the drawers with ivory chalk paint.

Using the same stencil I had used on the sides of the shelves I stencilled the top of the book cover and the front of the drawer.  I then painted everything with white ivory chalk paint and then used the same paint colours I had used on the shelves to build up the colour.  

I glued the shelves to the book cover.

I then used Finnabair moulds to make some resin pieces to decorate the unit.  I painted all of the resin pieces with blue chalk paint, then drybrushed all of the pieces with the ivory chalkpaint.  To finish the pieces I added some Finnabair rust paste.


I really enjoyed this project.  It shows the versatility of Faith's kits that they can be combined to make something new.


Thursday, July 22, 2021

Pink Balloon

This project is the one I made using the other half of the hot air balloon kit from Faith Pocock Craft Studio.  I wanted to do something similar but different to the blue balloon I posted earlier in the month.  The process is exactly the same as the blue balloon which has been detailed in my earlier blog. I just used different materials and different colours.


I glued silicone lace around the outside of the frame then glued small decorative half gems to the centre of the flowers,  I then cut squares and rectangles from chipboard and glued them onto the canvas then I cut a crochet doily in half and glued the pieces to the inside of the canvas. The corners were made using the wooden pieces that come with the canvas to stabilise it. and I glued on small rose gems to these pieces.  

I used some Imagine If chipboard pieces and more silicone lace to decorate the balloon itself. To colour this pieces I used Ranger Patina Paint in Verdigris, Jade and Moss colours.

For the background of the canvas I brushed on some Finnabair rust paste, using the brown rust and some green Viva Inka Gold wax . 


To read the assembly process please check out my previous blog - Blue Balloon.


Materials 

Hot Air Balloon Kit Small   Faith Pocock Craft Studio

Chipboard Pieces   Imagine If 

Passion for Paint Chalk Paint   Verdigris Studio

Ranger Patina Paint

Finnabair Art Extravaganza Rust Effect Paste


Thursday, July 8, 2021

Blue Balloon

For this months Design Team project for Faith Pocock Craft Studio, Faith sent me a hot air balloon kit.  Rather than decorate the whole balloon I cut the pieces in half and mounted the balloon inside two canvases.  Here is the first version, the second version will be up on my blog later in the month.


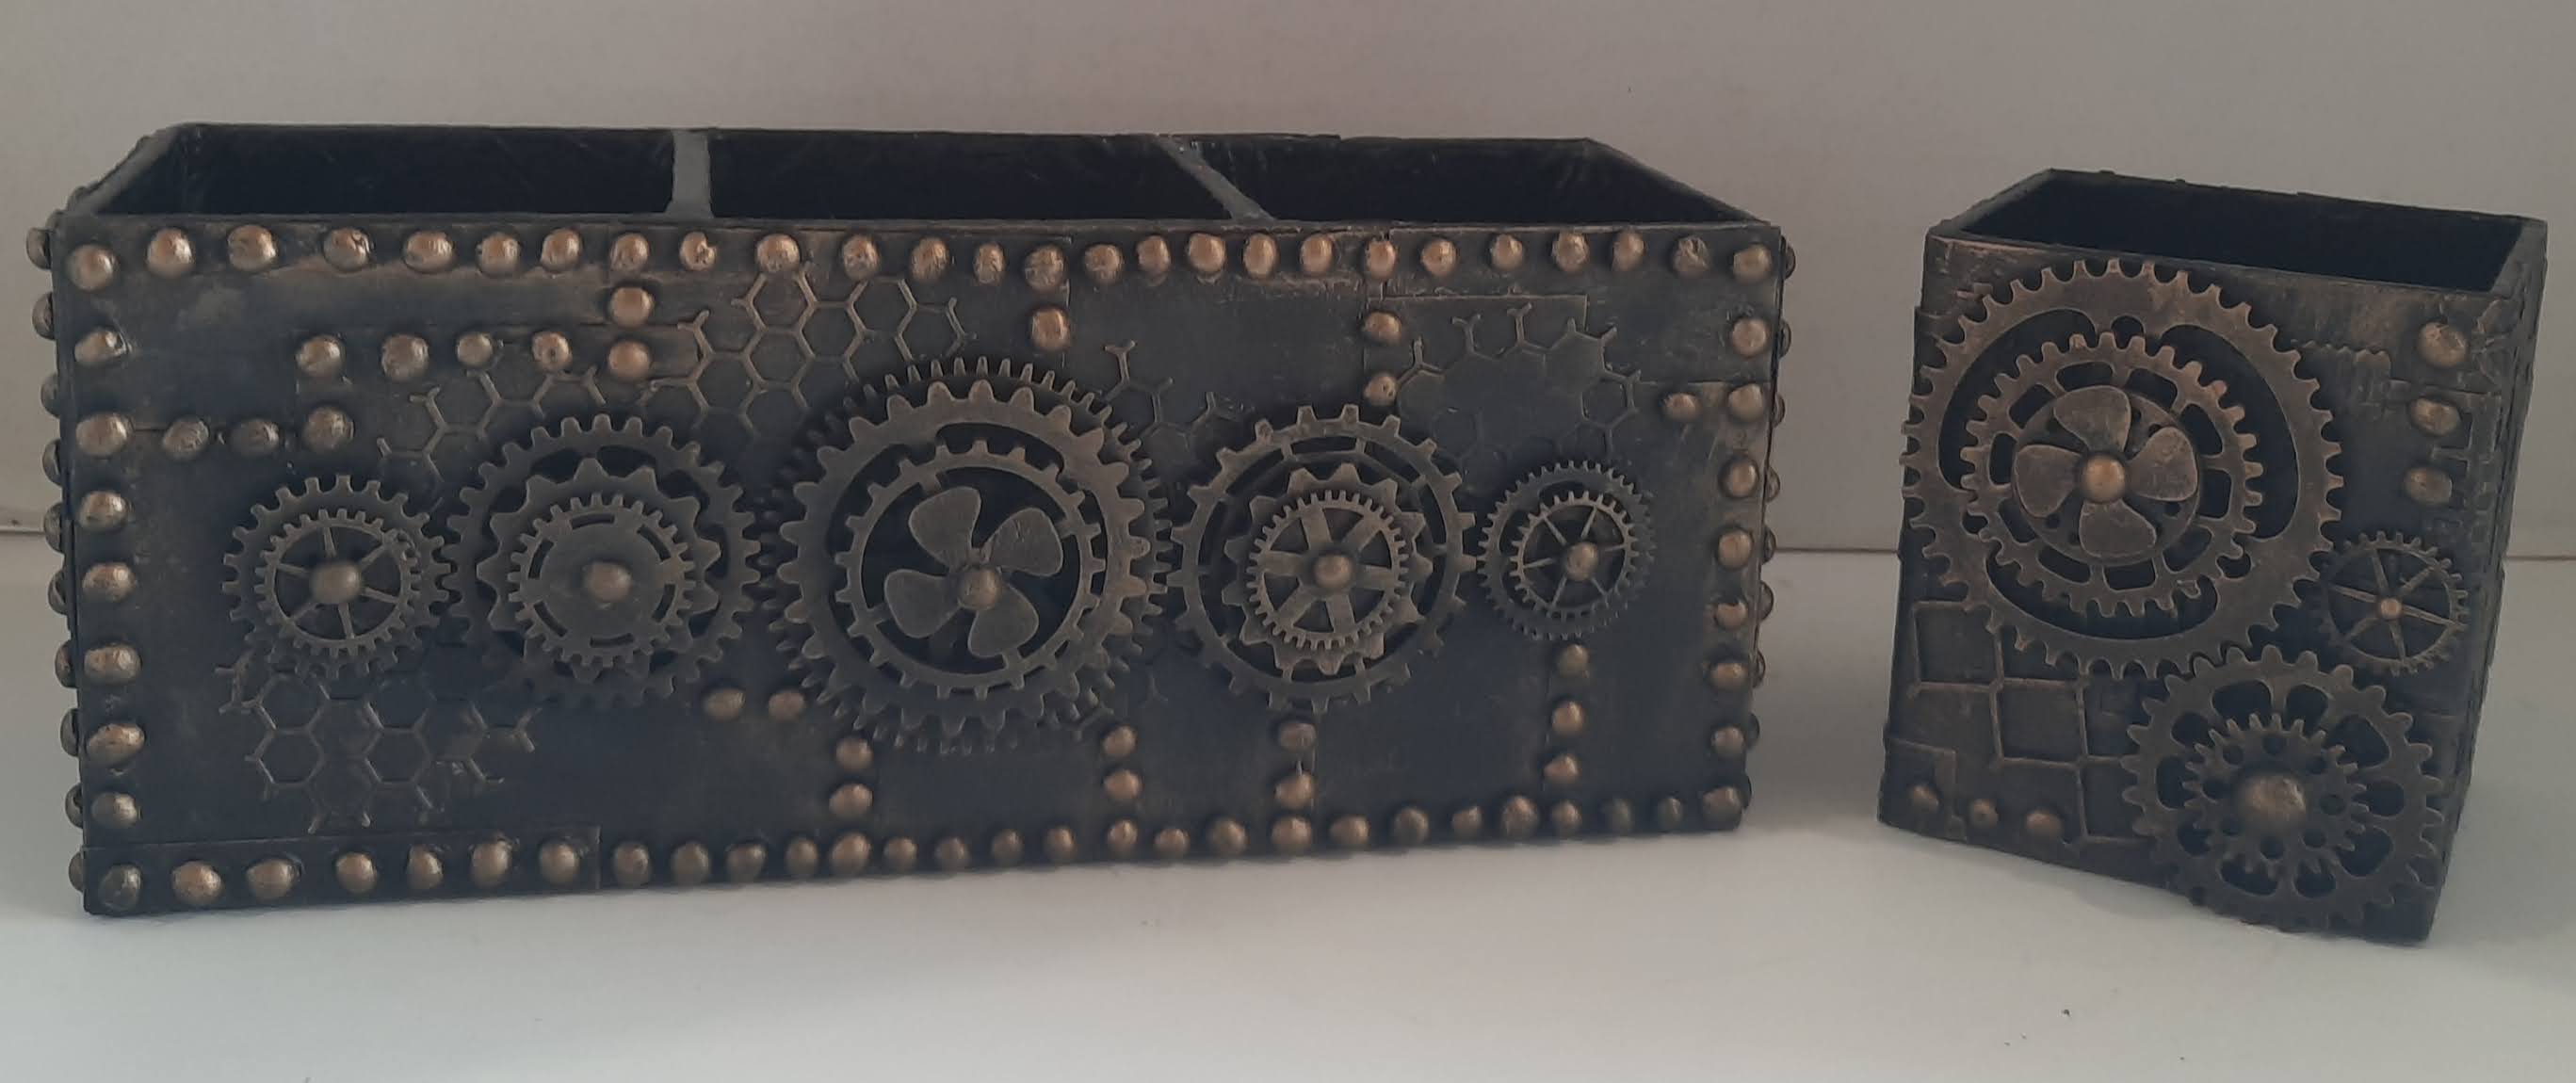
I began by decorating the canvas.  I glued embossed card around the outside of the frame then glued die cuts over the cardboard. Where the cardboard pieces joined I used upholstery pins to cover the joins.  I then cut squares and rectangles from chipboard and glued them onto the canvas.  The corners were made using the wooden pieces that come with the canvas to stabilise it.  


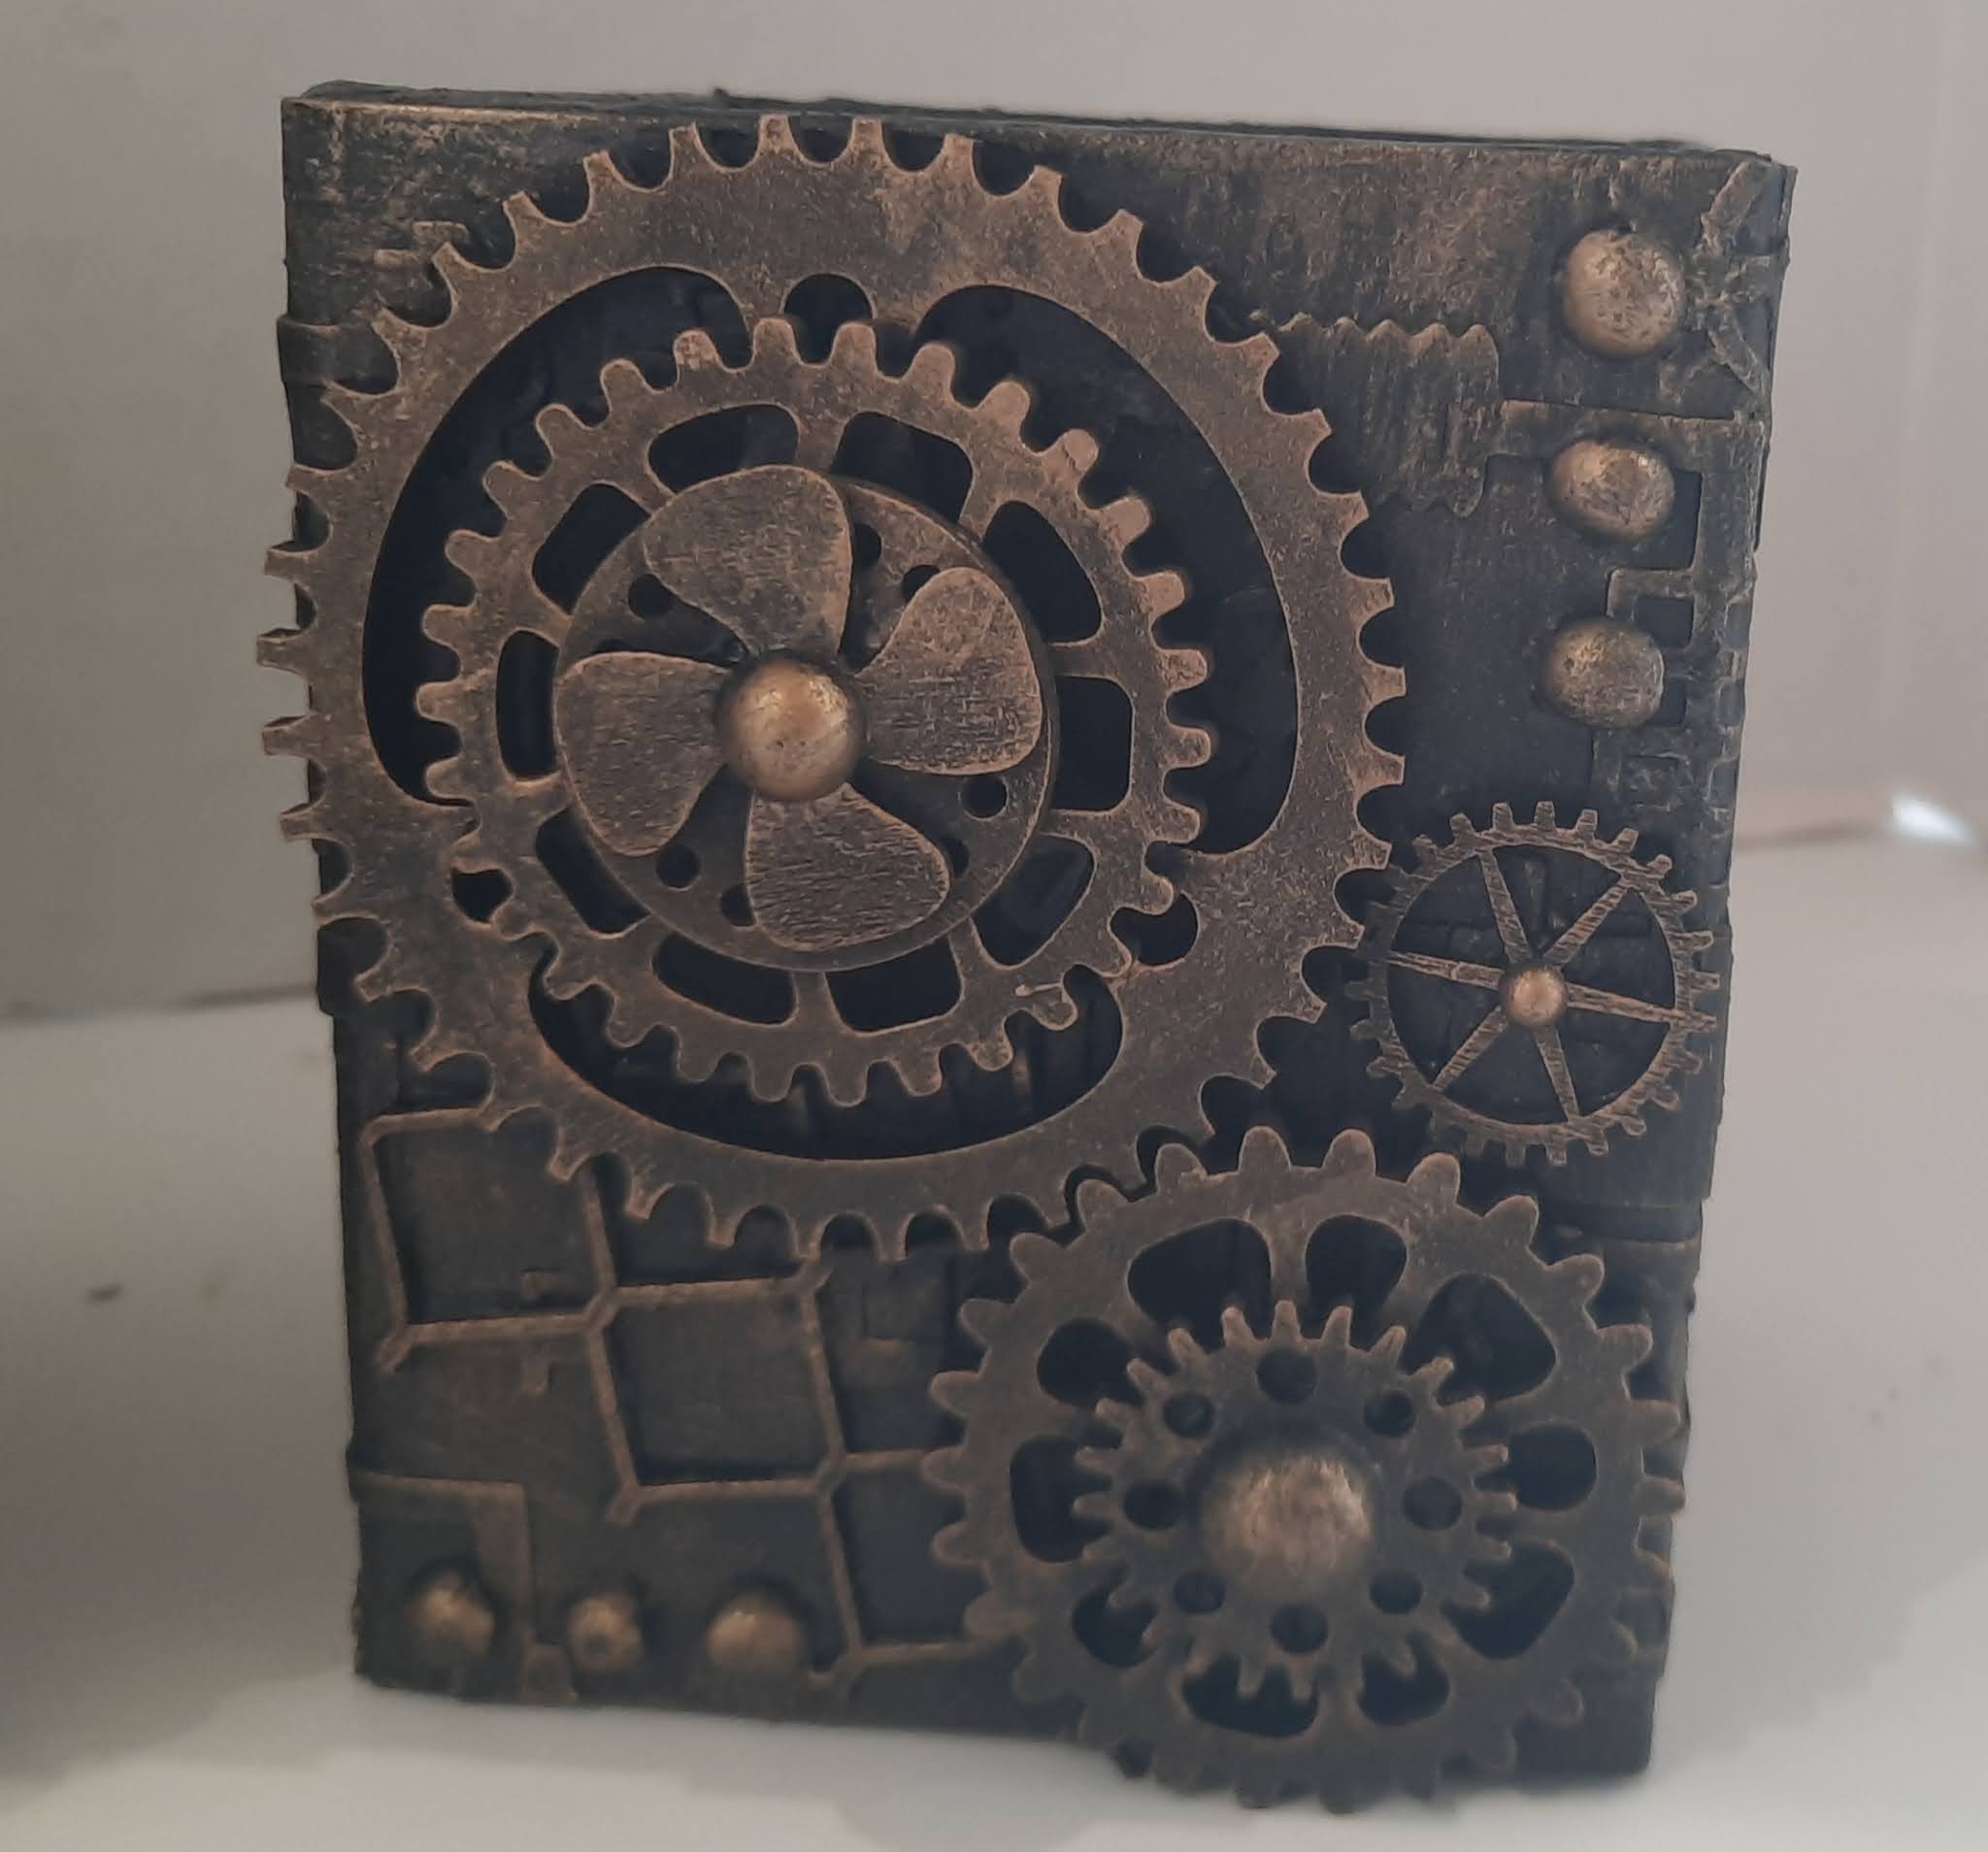
I added some Imagine If chipboard pieces and them painted the whole thing with black gesso.


I then brushed on some Finnabair rust paste, using the brown rust and red rust. To make it pop a little I added some Finnabair Vintage Gold wax.

For the balloon I cut the basket and the circular pieces in half. This gave me four support pieces for each balloon half.


I then cut a piece of chipboard to attach to the back of the balloon so that I could secure the edges of the fabric that I wanted to add over the top.  I cut a piece out of the chipboard so that when I glued the balloon to the canvas the chipboard would not show on the finished piece.


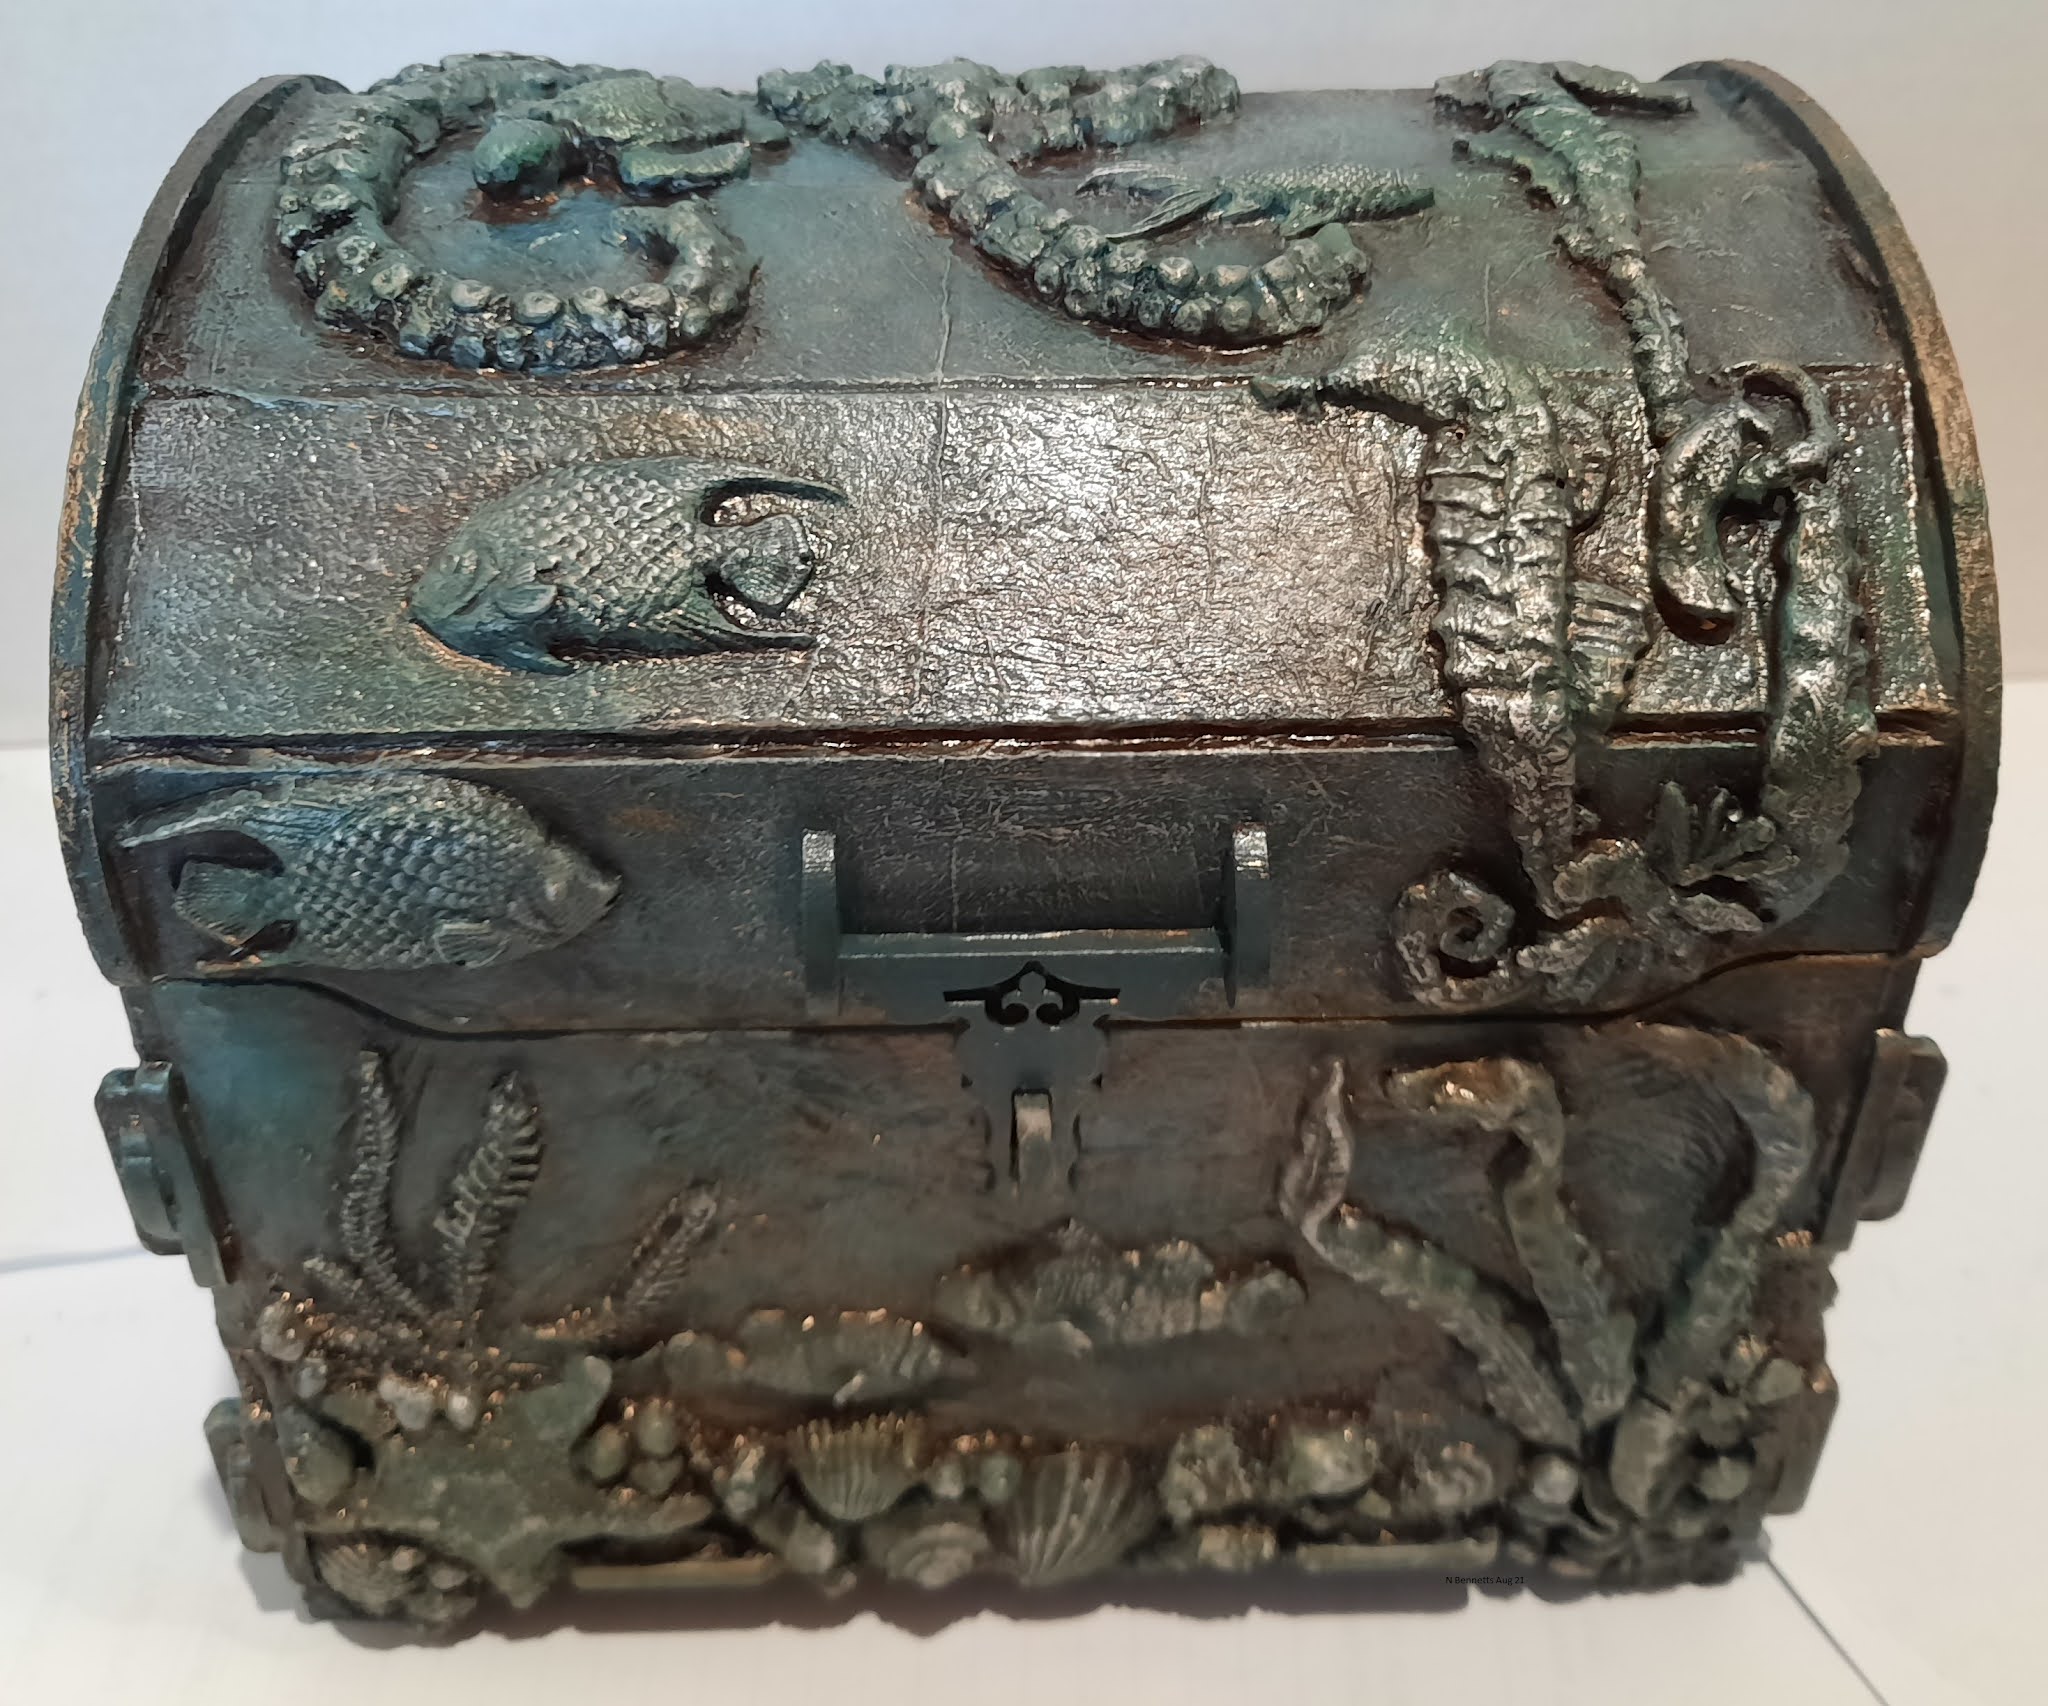
To cover the frame I used calico strips.  I dipped them into a combination of PVA glue and water and once they were saturated with glue I squeezed out the excess and draped the pieces over the frame.  I then did the same with a piece of baby muslin, draping it over the calico.  Using this technique the fabric dries stiff and hard.


Once dry I painted the balloon with Blue Bayou chalk paint from Verdigris Studio and then antiqued it using Deco Art Antiquing cream.


I cut strips of cardboard from a cereal packet, painted them black and glued on half pearls to simulate studs.  I then painted these and the chipboard pieces with Ranger Vintage Patina paints in rust, cinnabar and clay colours, The strips I glued to the ribs of the balloon and around the base of the balloon.


I glued a gear cabachon to a metal filigree and attached this to the main piece.

I used Finnabair moulds to make some screw heads which I added to the canvas and then I assembled everything.


I made little sandbags from calico, aluminum foil and twine to add to the basket which I covered in a piece of burlap and the piece was finished,  I am really pleased with how this project turned out.  The techniques I have used would also work if I had decided to leave the balloon whole and decorate it as an ornamental hot air balloon.  So go check out Faith's shop and have a bit of fun. 

Materials 

Hot Air Balloon Kit Small   Faith Pocock Craft Studio

Chipboard Pieces   Imagine If 

Passion for Paint Chalk Paint   Verdigris Studio

Ranger Patina Paint

Finnabair Art Extravaganza Rust Effect Paste